How to configure your Python Interpreter on PyCharm.
Hey everyone!
Setting up a Python interpreter in PyCharm can feel daunting at first, especially if you’re using a VDS (Virtual Desktop System) with multiple Python installations. This guide will help you configure the interpreter step by step, ensuring everything is set up correctly for your projects.
If you’re on a Linux system, you can use the “which python” command to locate the exact path to your Python installation. For Windows users, the equivalent command is “where python”. On the university’s VDS, one commonly used Python path (If you use Anaconda) is: C:\ProgramData\Anaconda3\python.exe. But don’t fret if you have no idea what Anaconda is, we’ll tell you how to find your specific path, shortly!
How to set up the Interpreter:
- Open PyCharm and go to your project settings. You can find this under File > Settings > Project: <Your Project Name> > Python Interpreter (on Windows/Linux) or PyCharm > Preferences (on macOS).
2. Click the gear icon next to the interpreter list and select Add Interpreter > Existing Interpreter.

3) If you’re unsure where Python is installed, use the terminal command where python (on Windows) or which python (on Linux) to find its location. This will provide you with the full path to the Python executable.

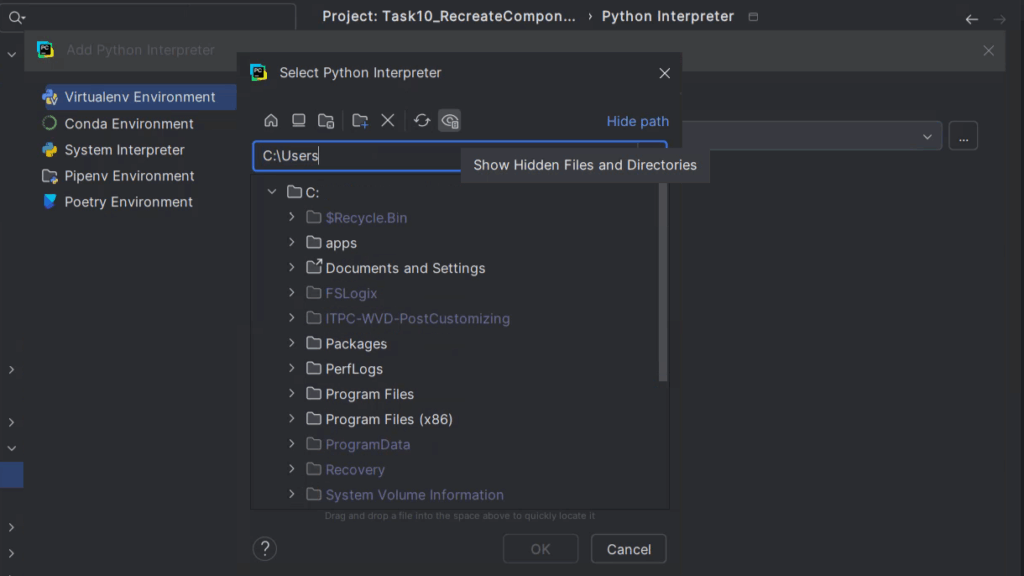
4) In this guide, we’ll use the path C:\ProgramData\Anaconda3\python.exe. If this folder isn’t visible, make sure hidden files are enabled in your file explorer.

5) Once you locate and select the correct python.exe, click Apply to confirm your changes and save the configuration.

6) That’s it! You can now run your Python code in PyCharm without any issues.

By following these steps, you’ll have your environment ready in no time. Happy coding! 🎉